
Nearpod.com: Simple Steps to Crafting Interactive Lessons That Engage and Educate
In today’s dynamic educational landscape, capturing and maintaining student attention is paramount. Gone are the days of passive learning; modern classrooms thrive on engagement and interaction. Nearpod.com has emerged as a powerful platform designed to empower educators to create and deliver dynamic, interactive lessons that transform the learning experience. This article will guide you through the simple steps to leverage Nearpod and unlock its potential for creating impactful and engaging lessons.
Understanding the Power of Nearpod
Before diving into the “how-to,” let’s briefly explore what makes Nearpod so effective. It’s more than just a presentation tool; it’s a comprehensive platform that allows teachers to:
- Deliver Interactive Content: Incorporate polls, quizzes, open-ended questions, drawing activities, and more directly into your lessons.
- Track Student Progress: Monitor student understanding in real-time through assessments and reports.
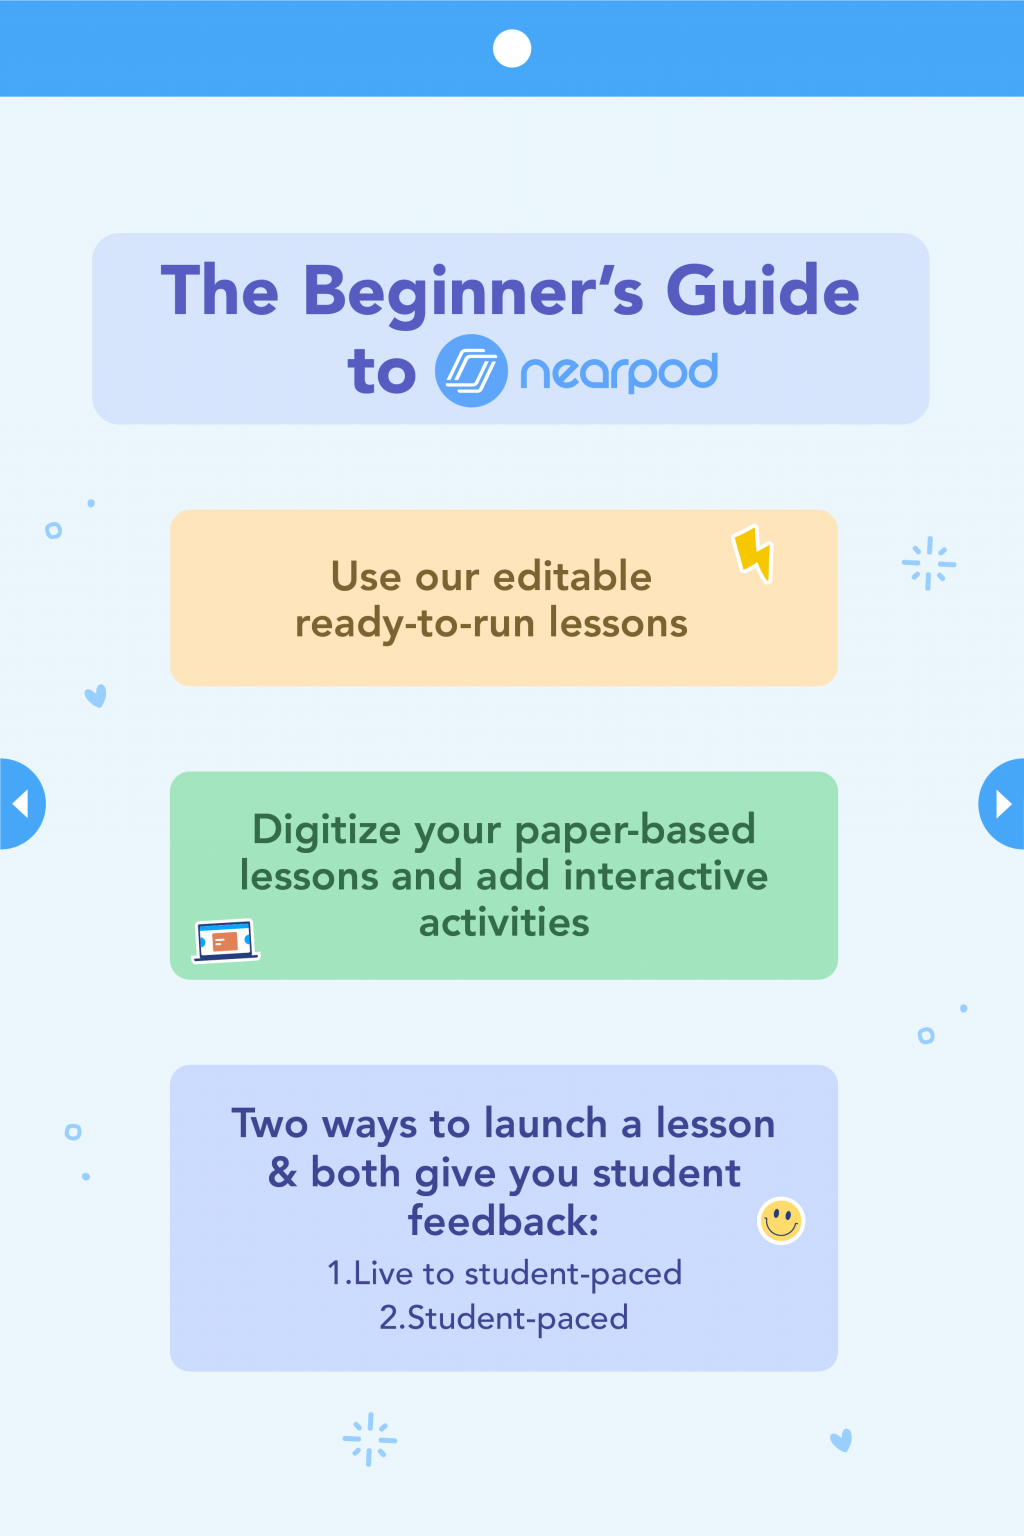
- Access Pre-Made Content: Explore a vast library of pre-made lessons and resources, saving you valuable time.
- Integrate with Other Platforms: Seamlessly connect with platforms like Google Classroom and Microsoft Teams.
- Offer Flexibility: Choose between live lessons (teacher-paced) and student-paced lessons (for independent learning).
By embracing these features, educators can foster a more collaborative, engaging, and personalized learning experience.
Simple Steps to Create Interactive Lessons with Nearpod
Here’s a step-by-step guide to get you started on creating engaging lessons using Nearpod.com:
1. Create or Access Your Account:
- Visit Nearpod.com and sign up for a free or paid account.
- If you already have an account, log in using your credentials.
2. Navigate the Dashboard and Explore Options:
- Once logged in, you’ll be greeted by the Nearpod dashboard.
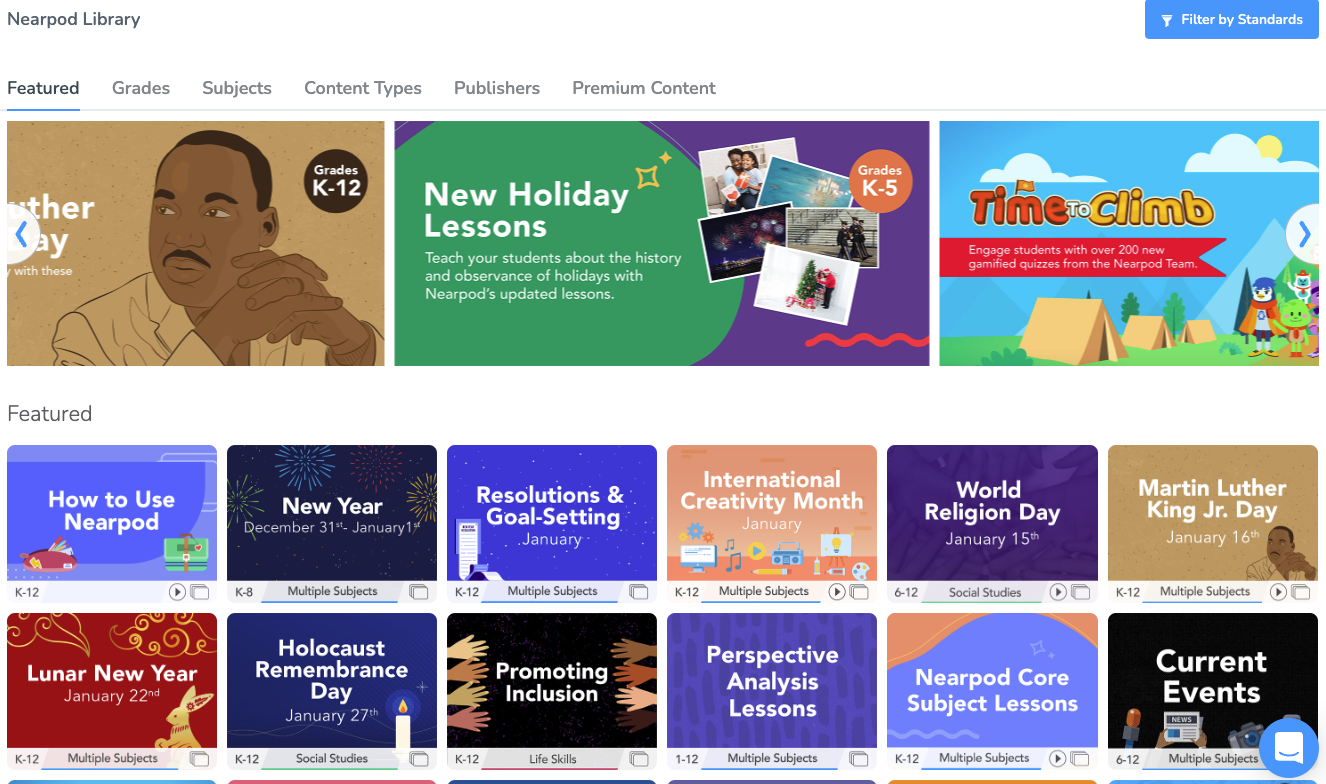
- Familiarize yourself with the interface, including the “Create” button, the lesson library, and the “Explore” section.
3. Choose Your Lesson Creation Method:
Nearpod offers several options for creating lessons:
- Create from Scratch: Build your lesson from the ground up, adding content and interactive activities as you go.
- Upload a Presentation: Transform existing presentations (PowerPoint, Google Slides, etc.) into interactive lessons.
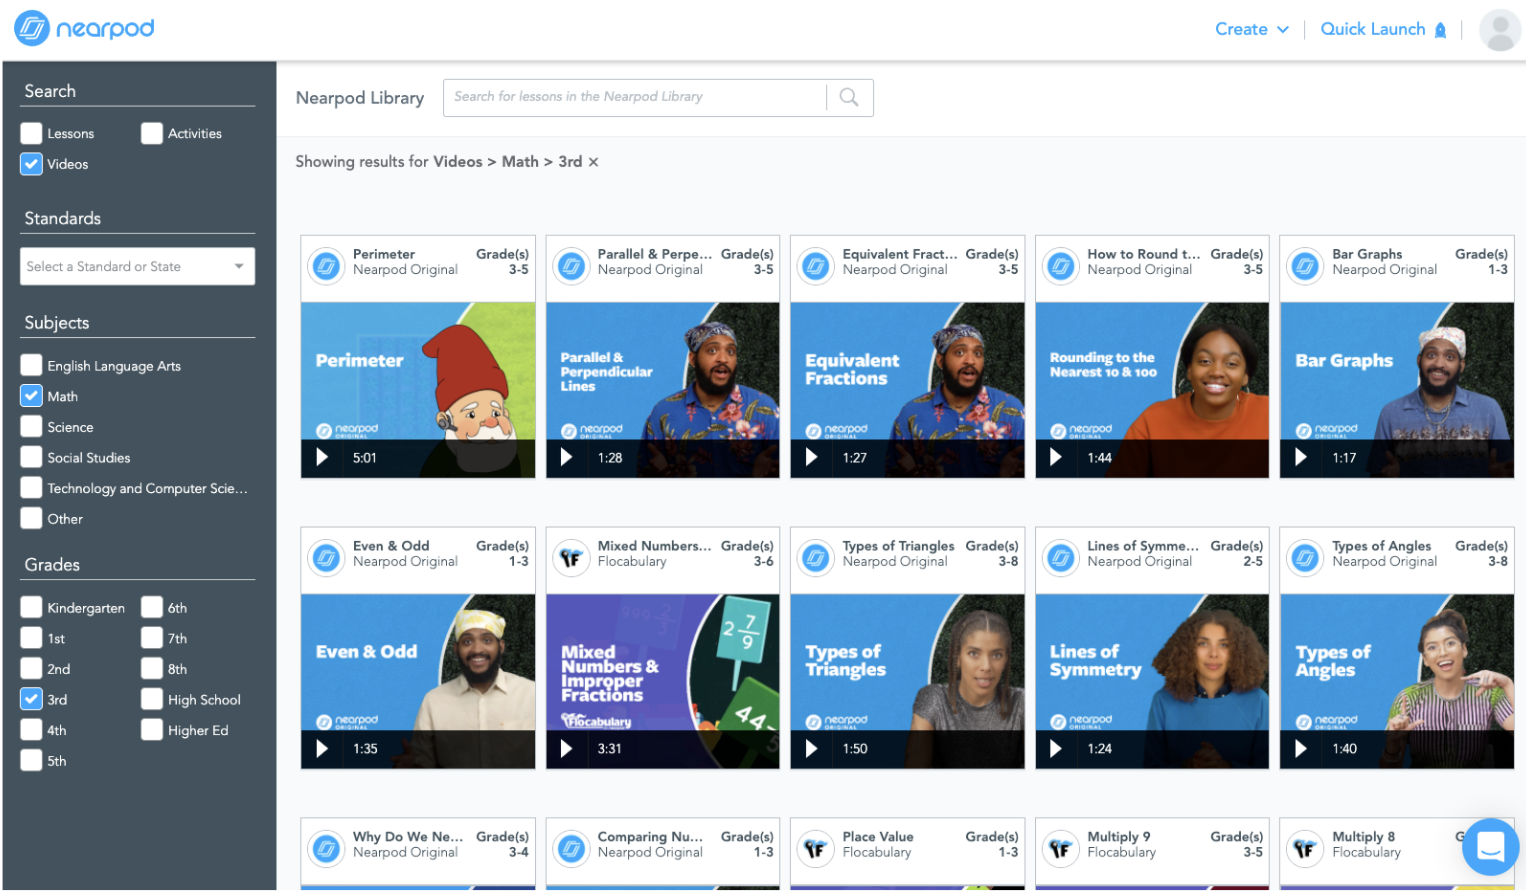
- Browse the Lesson Library: Explore a vast library of pre-made lessons, sorted by subject, grade level, and topic.
4. Adding Content and Interactive Activities:
This is where the magic happens. Here’s how to incorporate engaging elements:
- Adding Content:
- Slides: Add text, images, videos, audio, and websites to your slides.
- Multimedia: Embed videos, audio files, and 3D objects directly into your lesson.
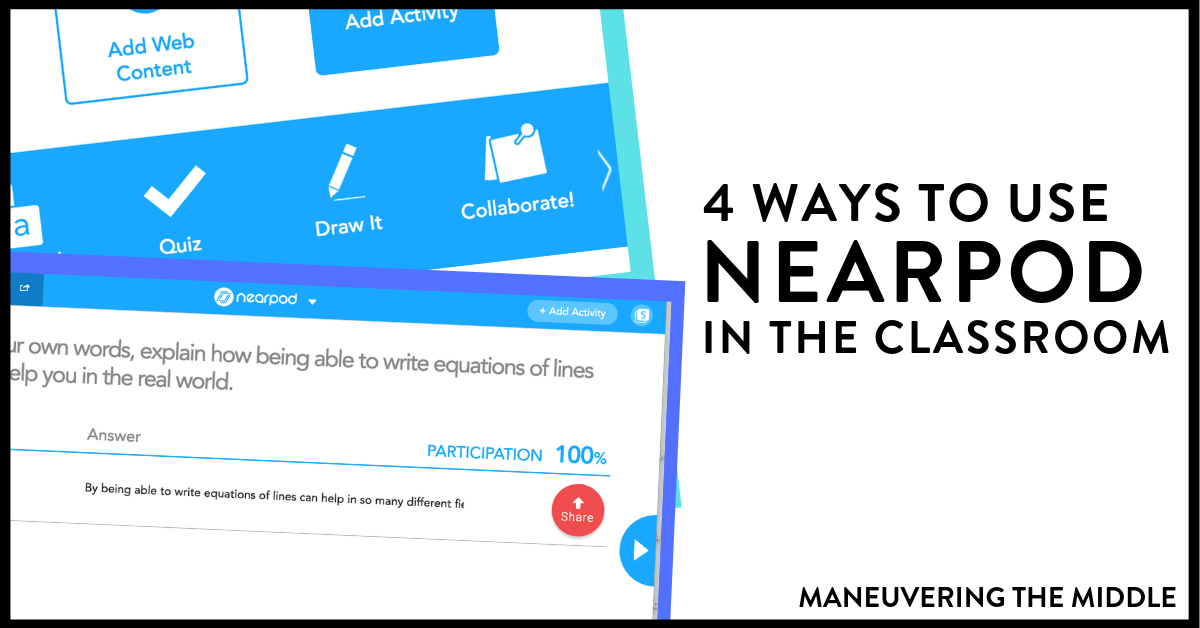
- Adding Interactive Activities:
- Quizzes: Create multiple-choice, true/false, or matching questions to assess understanding.
- Polls: Gather real-time feedback and insights from your students.
- Open-Ended Questions: Encourage critical thinking and provide opportunities for students to express their ideas.
- Draw It: Allow students to draw and annotate on images or slides.
- Matching Pairs: Create engaging matching exercises.
- Fill-in-the-Blanks: Test comprehension with this interactive activity.
- Time to Climb: Engage students with a gamified quiz experience.
- Virtual Field Trips: Immerse students in virtual experiences.
- Collaborative Boards: Foster collaboration and brainstorming with shared boards.
5. Customize and Organize Your Lesson:
- Title and Description: Give your lesson a clear and concise title and description.
- Grade Level and Subject: Specify the appropriate grade level and subject for your lesson.
- Reorder Slides: Easily rearrange the order of your slides and activities.
- Add a Theme: Customize the visual appearance of your lesson.
6. Preview and Test Your Lesson:
- Preview Mode: Before launching your lesson, use the preview mode to see how it will appear to students.
- Test Run: Conduct a test run to ensure all interactive elements function correctly.
7. Launch and Manage Your Lesson:
- Live Lesson: Choose the “Live Lesson” option for teacher-paced instruction.
- Student-Paced Lesson: Choose the “Student-Paced” option for independent learning.
- Share the Lesson Code: Provide students with the lesson code or share the link via your preferred platform (e.g., Google Classroom).
- Monitor Student Activity: Track student progress in real-time and provide feedback.
8. Analyze and Reflect:
- Review Reports: After the lesson, analyze student performance through detailed reports.
- Identify Areas for Improvement: Use the data to refine your lesson and improve future instruction.
- Iterate and Refine: Continuously refine your lessons based on student feedback and performance data.
Nearpod.com: Benefits for Educators
Using Nearpod offers numerous advantages for educators:
- Enhanced Student Engagement: Interactive elements keep students actively involved in the learning process.
- Real-Time Assessment: Instant feedback on student understanding allows for immediate adjustments to instruction.
- Differentiation: Adapt lessons to meet the diverse needs of your students.
- Time Savings: Access pre-made lessons and resources to streamline lesson planning.
- Improved Classroom Management: Interactive features and real-time monitoring support effective classroom management.
Conclusion
Nearpod.com provides a powerful and accessible platform for educators to create engaging and interactive lessons. By following these simple steps, you can unlock the potential of Nearpod and transform your classroom into a dynamic and collaborative learning environment. Embrace the interactive features, experiment with different activities, and continuously refine your lessons based on student feedback. With Nearpod, you can empower your students to learn, grow, and achieve their full potential.
Frequently Asked Questions (FAQs)
Is Nearpod free to use? Nearpod offers a free basic plan with limited features. Paid subscriptions provide access to more advanced features and resources.
Can I use Nearpod with any device? Yes, Nearpod is accessible on various devices, including computers, tablets, and smartphones. Students can access lessons using a web browser or the Nearpod app.
How do I get started with Nearpod? Visit Nearpod.com and create an account. Explore the features, browse the lesson library, and start creating your own interactive lessons.
Can I integrate Nearpod with other educational platforms? Yes, Nearpod integrates with popular platforms like Google Classroom, Microsoft Teams, and others, making it easy to share and manage lessons.
What if I don’t want to create a lesson from scratch? Nearpod has a vast library of pre-made lessons that can be easily customized to fit your specific needs. You can also upload existing presentations and quickly add interactive elements.
